How to Use a Voltage Detector: Step-by-Step Absence-of-Voltage Check
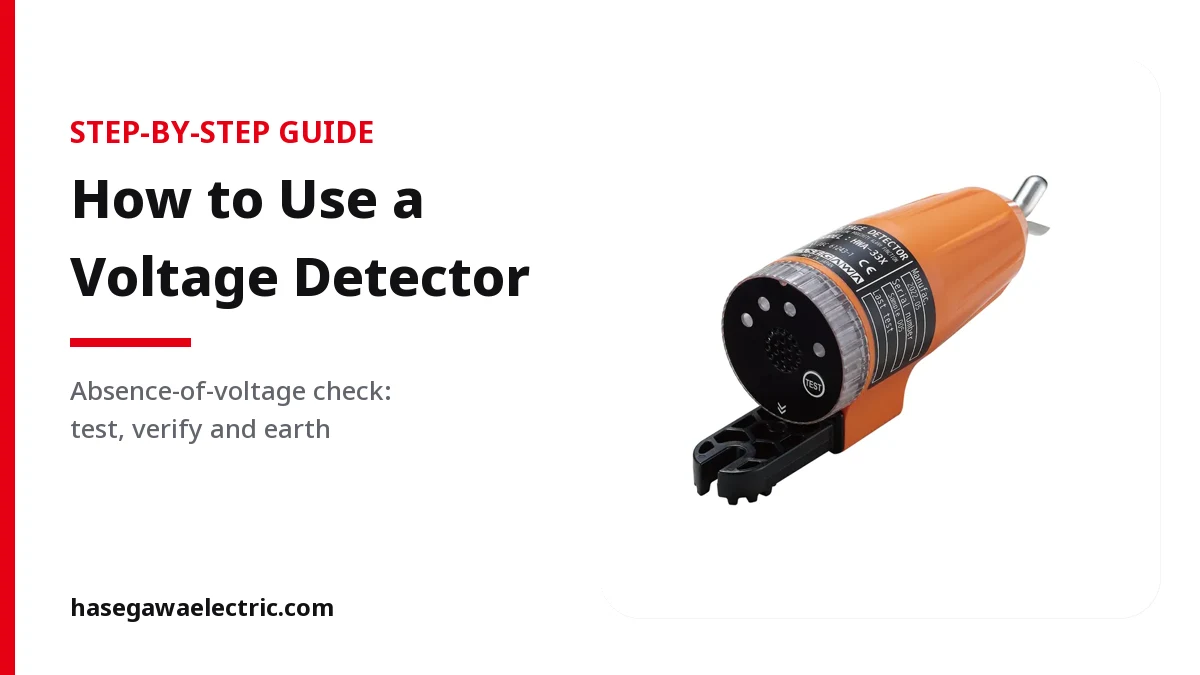
How to test and use a voltage detector: choosing the right detector, the test-verify-test method, checking every phase and the steps before earthing.
A voltage detector is used in three steps: first test the detector on a known live source or a detector tester, then check for absence of voltage on every phase at the work location, and finally test the detector again to confirm it worked throughout the check. The detector must be rated for the voltage of the installation and held behind the hand guard of its insulating stick.
This guide explains step by step how to verify absence of voltage in medium-voltage (MV) and low-voltage (LV) installations.
Why correct use matters
Verifying absence of voltage is the third of the five safety rules and comes right before earthing. A mistake at this step can lead to an earthing device being connected to a live conductor and to an arc flash. The most common causes of a wrong result are:
- Using a detector that is not rated for the voltage
- Concluding "dead" with a flat battery or a faulty detector
- Checking only one phase
- Ignoring the influence of an adjacent live section
1. Choose the right detector
The detector must match the nominal voltage of the installation.
| Voltage level | Example HASEGAWA models |
|---|---|
| LV (up to 1000 V) | HTE-610W, HTE-700D/700DL |
| MV (HWA-33X: 11–33 kV, HWA-33P: 1–35 kV) | HWA-33X, HWA-33P |
| Transmission (110 kV and above) | Hot-stick high-voltage detectors |
For 10, 20 and 33 kV networks see Voltage Detectors for 10 kV, 20 kV and 33 kV Networks; general selection criteria are covered in How to Choose a Voltage Detector.
2. Inspect and test the detector
- Visual check: no cracks in the housing, no cuts or dirt on the stick, no looseness at the contact electrode. The stick must be clean and dry.
- Self-test: if the device has a test button, press it and check that the light and sound indicators work.
- Check with a tester: where possible, confirm with a detector tester such as the HLA Series that the detector really detects voltage. A self-test does not always cover the whole detection chain from the contact electrode.
If the detector fails the test, replace the battery; if it still fails, do not use it.
3. Prove it on a known live source
The method used on site is known as "test – verify – test" (often called live-dead-live):
- Try the detector on a point at the same voltage level that you know is live, and see it indicate.
- Carry out the check at the work location.
- After the check, try the detector again on the live point or on the tester.
This sequence rules out the battery running flat or the device failing during the check.
4. Prepare yourself and the area
- Put on your PPE: insulating gloves, face shield, helmet and suitable workwear.
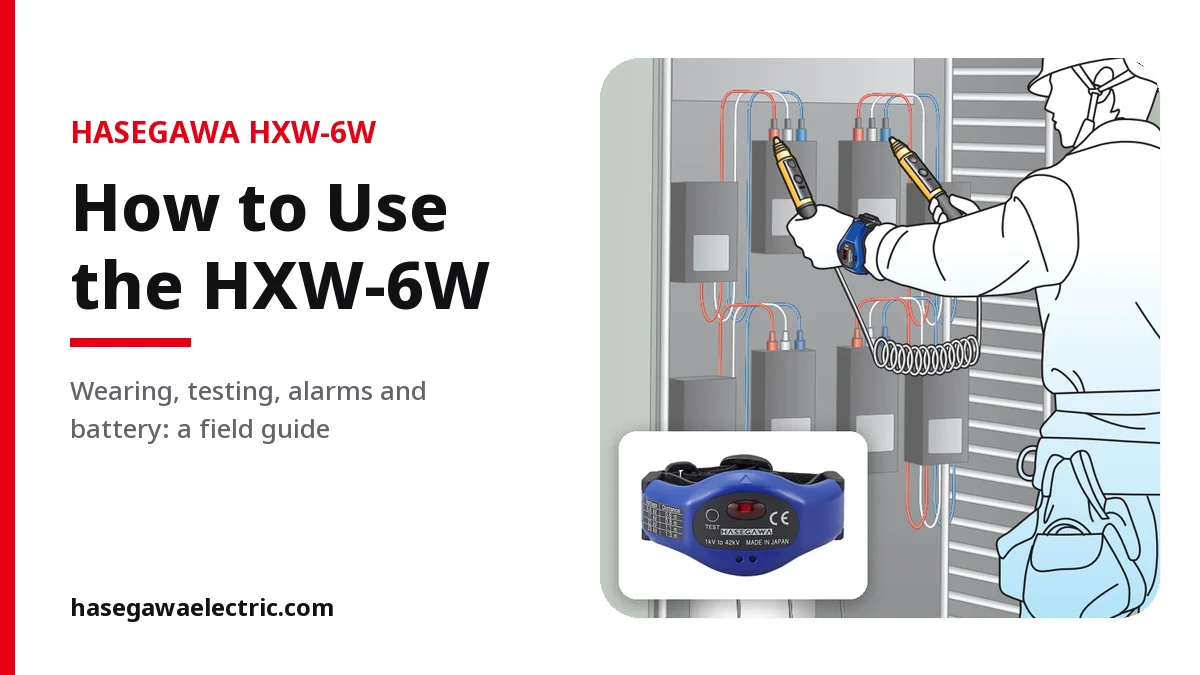
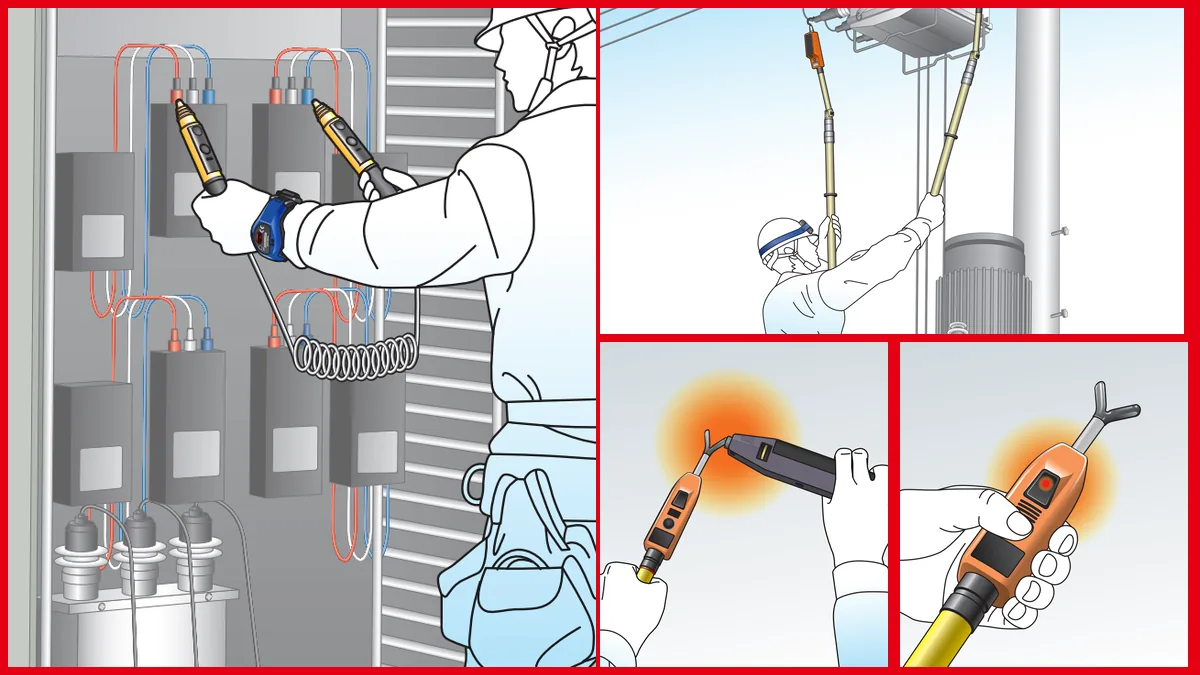
- Test and wear your HXW-6W on the wrist or HXA alarm on the helmet. They do not replace the detector but warn you if you approach an adjacent live section during the check.
- Hold the insulating stick behind the hand guard.
- Take a stable stance; keep your balance on ladders or platforms.
5. Check every phase
- Touch the contact electrode to the conductor on each phase separately.
- At cable terminations, busbars and breaker outputs, check both sides of the work location; remember back-feed.
- Wait for the detector's indication; many devices give continuous light and sound on contact.
- With proximity-warning detectors (for example the HWA-33X), if the staged warning starts before contact, the conductor is live: stop.
6. Test again and earth immediately
After the check, test the detector again. Once absence of voltage is confirmed, earth and short-circuit immediately, before the line has a chance to be re-energised. For cables and capacitors, first drain residual charge with a discharge stick.
Common mistakes
- Checking MV with a voltage tester pen: pen-type detectors are for LV only. See Voltage Tester Pen or Voltage Detector?.
- Using an alarm instead of a detector: a silent wrist or helmet alarm is not proof of absence of voltage.
- Using it untested: a detector that worked on the last job may not work today.
- Skipping periodic checks: detectors need regular inspection. See Why Regular Checks of Voltage Detectors Matter.
Checklist
- Detector rated for the voltage
- Visual check done, stick clean and dry
- Function confirmed with the test button or a tester
- Proven on a known live source
- Every phase checked
- Detector re-tested after the check
- Earthed and short-circuited immediately